Install & first run
Getting started with Syncnity
What Syncnity does and the four steps from install to reviews on your store.
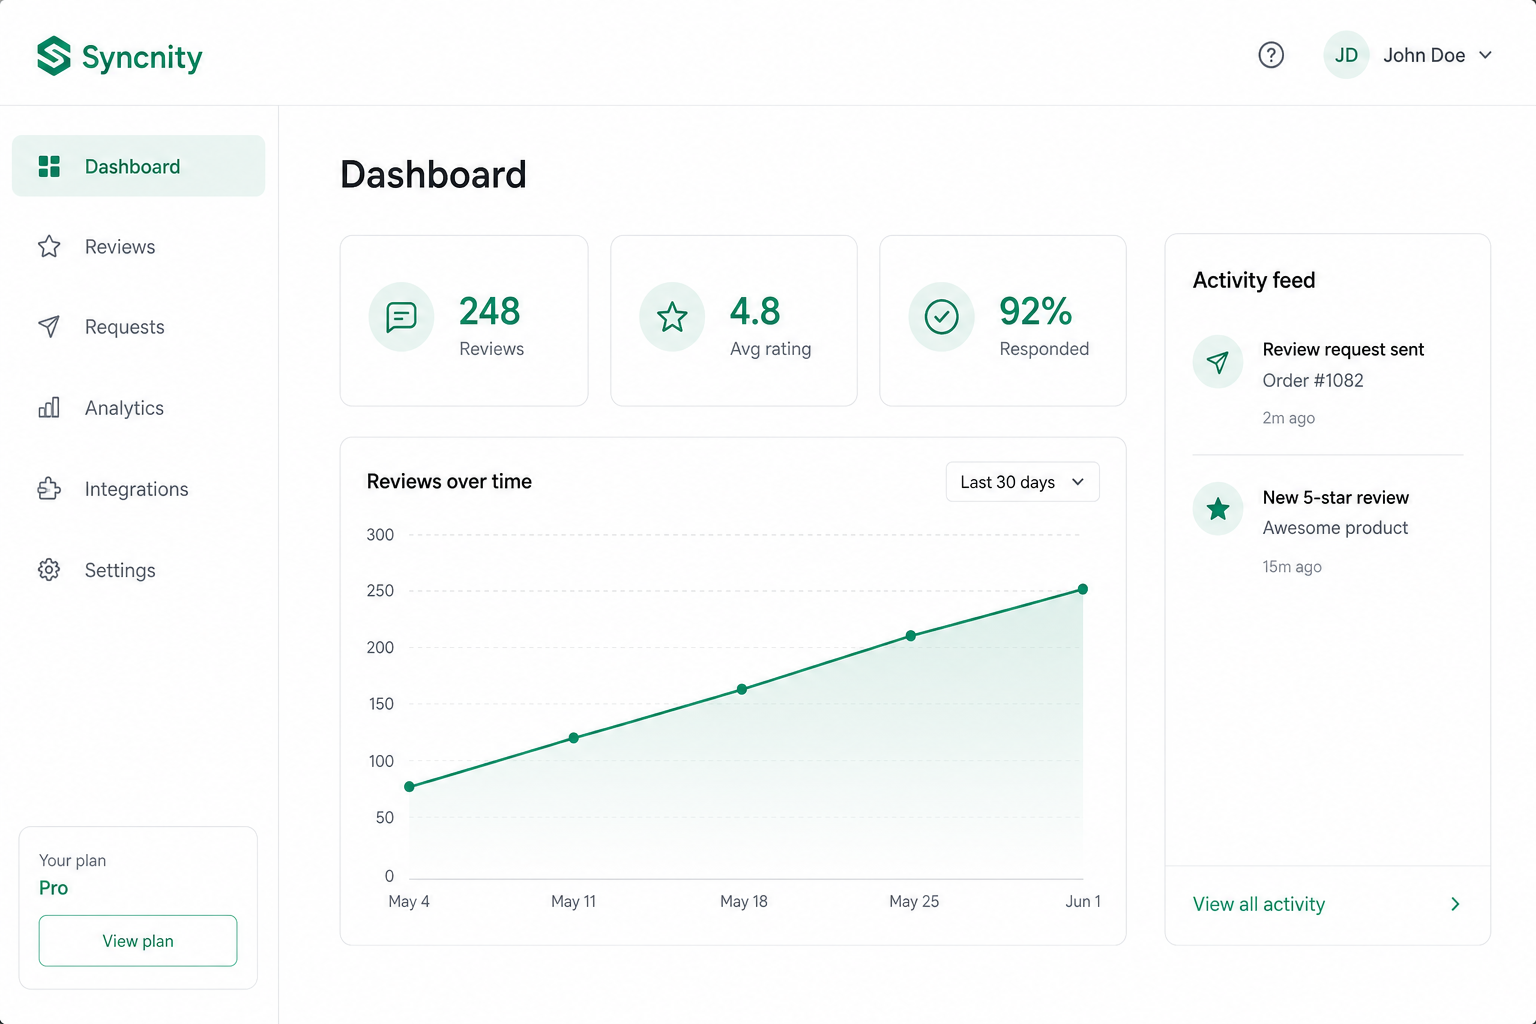
Syncnity is a review platform for Shopify. It emails customers after an order is fulfilled, collects star ratings plus optional photos and video, shows that content in storefront widgets, and lets you answer product questions. You can also connect Google Reviews, Walmart, Klaviyo, Meta, and AdRoll.
This article is the map of the product: what each area is for, and the order most stores follow.
Collect
Collect Reviews is how reviews enter Syncnity. After fulfillment, Syncnity sends a request email. You set the delay (for example 7 days after fulfillment), optional reminders, branding, bulk asks for past orders, and CSV import. Each automatic, reminder, or bulk email uses monthly review request quota. Displaying widgets does not.
Send your first review request
Display
Widgets is how shoppers see reviews. There are placements for product pages, collections, search, popup, sidebar, trust badge, photo/video slider, and cart. All of them need the theme app embed.
Manage
Manage Reviews is moderation: pending, published, replies, featuring, moving a review to another product. Q&A is a separate inbox for public product questions.
Connect
Settings → Integrations is Google, Walmart, Klaviyo, Meta Instagram, and AdRoll. Settings → Plan is quota. Settings → Team is staff access.
Most stores finish a first live setup in one sitting: install → embed on → request timing → product review widget on.
Related
Did this answer it?
Your vote helps us write the next guide.